

How To Charge Heat Pump In Winter

When you ask many people nowadays how to check the charge on a estrus pump during low outdoor temps, they will say that yous demand to "counterbalance in and counterbalance out" the charge. While this may exist an constructive method, it isn't always practical.
Now, if yous are making a refrigerant circuit repair, weighing out and weighing in makes perfect sense, especially since microchannel condensers and scroll compressors make pumping downwards less viable anyway. Simply at that place are many cases where y'all just need to check the accuse to make sure the system is working properly, and in these cases, weighing in and out would be plain silly.
I originally wrote this guideline back in 2003, and truthfully, not much has changed since and then in regards to checking a heat mode accuse on a oestrus pump.
Step #1 – If there is whatsoever frost on the outside unit, go it completely defrosted first.
Step #2 – Check all the obvious things get-go, filter, coils, blower bike, etc. If the unit isn't clean, it will exist actually hard to cheque.
When charging in heat mode, read manufacturer specifications first. Lennox gives specific instructions for charging their units when the outdoor ambient conditions are below 65°. It involves blocking off the condenser curl with cardboard (or, even better, using a charging jacket) while running the arrangement in cool mode. Lennox gives specific instructions for how high to raise the head pressure and what level of subcooling you should expect.
Remember that in heat mode on a heat pump, the evaporator is outside, and the condenser is within. This is important because, in cool mode, a dirty air filter caused low airflow on the evaporator. In those cases, you would typically notice a low suction force per unit area and a low superheat. In heat mode, a dirty air filter causes depression airflow beyond the condenser. That can crusade extremely loftier head pressure. In heat mode, a dingy outdoor coil can cause a low suction pressure.
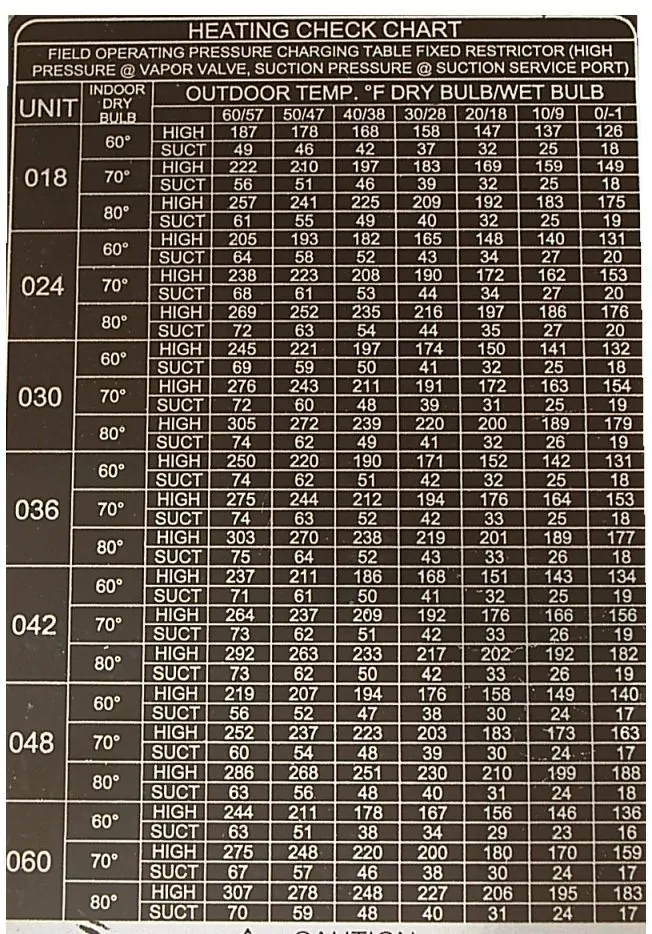
Every bit an instance, Trane includes a pressure curve chart with many heat pump condensing units. Be sure to apply the scale all the fashion to the right that says heat mode. Indoor and outdoor dry-seedling temperatures are necessary to use the Trane pressure level curve. Carrier supplies many estrus pump condensing units with a pressure level guideline chart. Carrier only wants the heat mode pressure chart used every bit a guideline, not every bit a charging tool. Always reference manufacturer guidelines before setting any charge.
100° Over Ambient Dominion of Thumb
Even though we should follow manufacturer specifications, some bones guidelines will assistance in charging and diagnosis in a compression. The most widely quoted rule of thumb is the 100°-110° over ambient discharge rule. This guideline states that a properly charged unit of measurement will have a discharge line temperature of 100°-110° above the outdoor temperature. If the belch line is besides hot, add refrigerant (if the charge is the issue and not some other problem). If the discharge line is likewise absurd, remove refrigerant (once again, only if the charge is diagnosed as the consequence).
Go along in mind that this dominion only works if you are close to being in the correct zone. For example, an extremely overcharged system with an outdoor TXV can actually evidence a high discharge temperature. It's but a dominion of pollex, and you shouldn't rely as well heavily on it.

First off, the photo in a higher place was taken in 2003, so give me some slack on my gauges. Nowadays, I would be using my Testo 550s.
To give a elementary instance using the 100°-110° over ambience rule, if information technology were lx° outside, you could say that the charge is about correct by the 100°-110° over ambient rule. If information technology were xxx° outside, the 100°-110° over ambient rule would show undercharge (or other conditions that tin can cause high discharge line temp; see this article). If, for example, the discharge temperature were 210° with a 150 PSI head pressure and a x PSI suction with a 50° outdoor temperature, this would evidence an farthermost undercharge. You can still check the subcool and superheat in oestrus style; the problem is that since there are rarely any set guidelines, it is hard to tell when the charge is fix correctly by simply checking the subcool or superheat alone. Generally, you volition see normal superheat (8°-14°) on a system with heat way TXV, and the subcooling will generally be a bit college than usual, especially when measured exterior.
Suction Pressure level/EVAP DTD Rule of Thumb
Some other common old-school rule of thumb is that suction pressure should be close to the outdoor temperature in an R22 system. However, this rule of thumb (obviously) does non work on an R-410A system. A more applicative guideline is 20°-25° suction saturation below outdoor ambient. That ways if it is l° outside, the suction saturation temperature should be between 25° and 30° (on most systems).
Head Force per unit area/CTOA Dominion of Thumb
Considering the evaporator coil is substantially smaller than the condenser, y'all will usually see higher caput pressure (condensing temperature) in relationship to the condensing air (in this case, the indoor air). This can vary a lot depending on the historic period/SEER of the unit, the size of the coil, and how the indoor airflow is set upward, simply generally, information technology will be thirty°-40° condensing temperature over the indoor dry out bulb.
Checking Without Gauges
Here are some quick tests you can do on a heat pump to ostend it is operating shut to specs without using gauges when the coil is frost-free, and the outdoor temps are 65°-15°:
- Bank check the belch (vapor) line; it should exist 100°- 110° over the outdoor ambience temperature.
- Suction line temp should exist 5°-fifteen° cooler than the outdoor temperature.
- The liquid line should exist three°-15° warmer than the indoor temperature.
- Delta T indoors will vary greatly depending on the outdoor temperature.
If anything looks off, go ahead and connect gauges to verify further—and equally I said several times already, follow manufacturers' guidelines.
The best way is to verify total system chapters (with estrus strips off) using dual in-duct thermometers and manufacturer specs, but I understand how challenging it can exist to verify system airflow ACCURATELY, so information technology likely won't always be your first move. We are a big fan of MeasureQuick around our business, so I would advise checking it out for this.
Here's how we check the charge without gauges at Kalos.
—Bryan
P.S. – I also released ii podcast episodes about checking the charge without gauges with Jim Bergmann. You can find those Hither.
Source: https://hvacrschool.com/checking-charge-heat-pump-winter/
0 Response to "How To Charge Heat Pump In Winter"
Post a Comment